Post a Model
Login to Printables with your username and password.
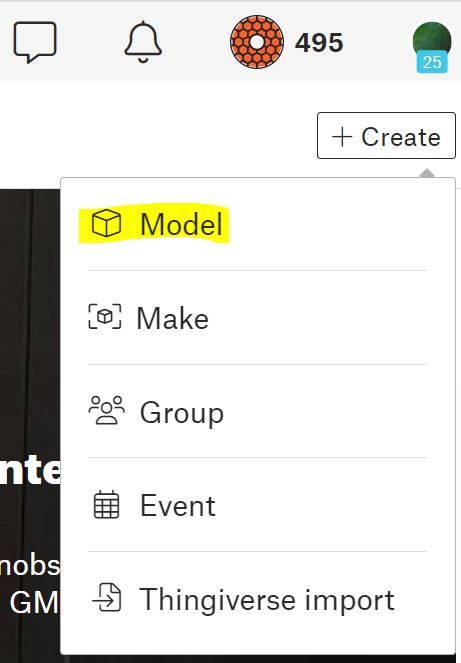
In the upper-right hand side of the screen, click the “+ Create” button (highlighted in yellow, below).

Select “Model” (in yellow, below) to upload a design that you have made or modified.
The minimum information that you will need to provide:
- A 3-D model file of your design (.stl, .3mf, .step, sl1s, .stp, .amf, .obj)
- A picture of your model (.jpg, .gif, .png). This should preferably be a photo of the model printed out if possible, but a screenshot of a preview or render also seems to be acceptable.
- A name for your model
- A short summary of your model
- A category your model should be listed in (selected from a provided list
- Which license you wish to publish your model under
Enter and upload the required information and you are ready to publish your model for all to see.
If you aren’t ready to publish yet, leave the slider on ‘Draft’ and press the “SAVE DRAFT” button to save your draft for later use. When you are ready to publish your design publicly, click the Draft/Publish slider over to ‘Publish’ and then press the “PUBLISH NOW”.

Keep in mind that publishing is not a final, permanent decision. You can continue to edit your model and all fields about your model. If you decide there was a mistake or you want to retract your publish, simply slide the slider back to ‘Draft’ and press the “SAVE DRAFT” button to make it private again.
Additional fields
Above we addressed the minimal, required fields to publish your design to printables.com. There are a number of other optional fields you should consider completing to help the site and other users find your model more easily, categorize your model, or use your model more effectively. These include:
- Additional Tags
- linking Remix files (reference the original files)
- a detailed Description
- any other supporting files (.txt, .pdf (instructions))
- Print files (.gcode, .sl1)
You can also re-arrange your photographs that you uploaded and choose which one will be used as a cover photo (‘set as cover’) for your object in the 3-D Models index on printables.com.